
Pattern Release: Chloe by Laela Jayne Patterns
Its a Release Party for the Chloe Dress by Laela Jayne Patterns!
Pattern Details
- Sizes: (newborn to 6 years) and (7 years to 14 years); Separate patterns
- Sewing Level: Intermediate
- Techniques used: buttonholes, bias tape and darts (developing 11-14)
- Fabrics used: Woven
- Length Options: Dress, with or without ruffle and Maxi
- Sleeve Options: Sleeveless, faux cap and Flutter
- Pattern Style: Photo tutorial, printed pieces
- Charts: Symbol Key, Material and Fabric requirements,
Cutting Dimensions (Imperial), Measuring your Child, Fabric and Pattern Layout
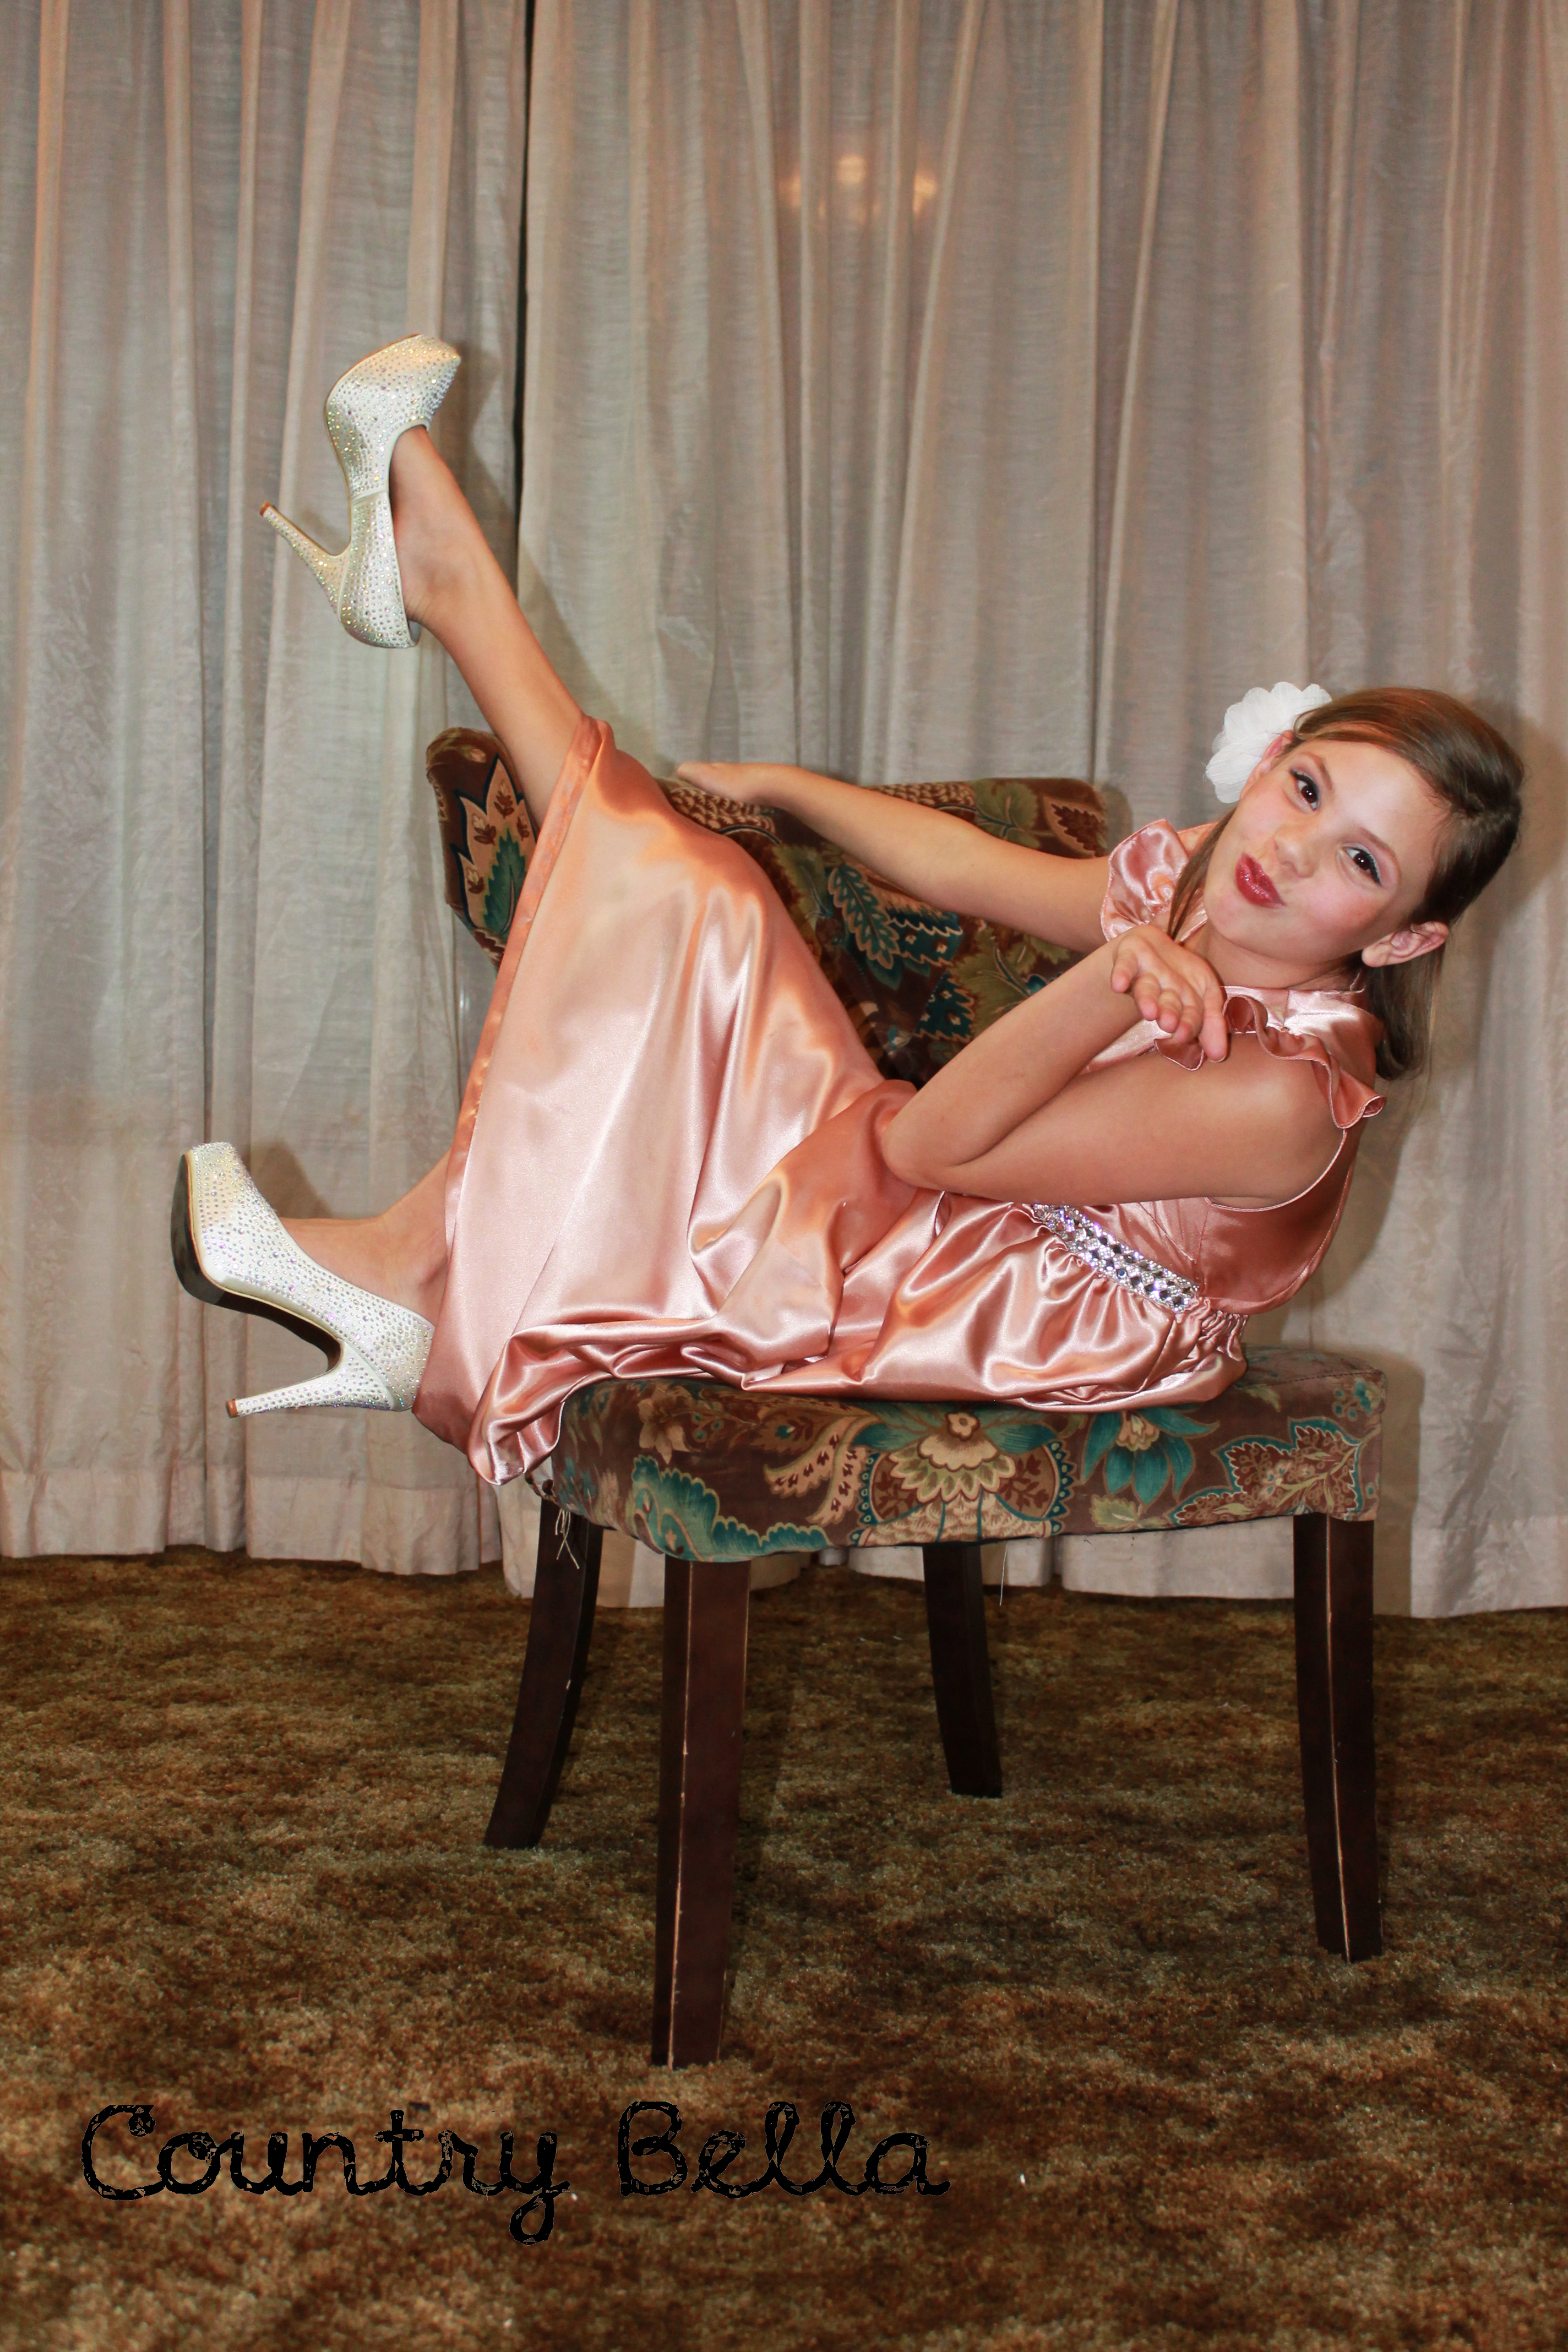
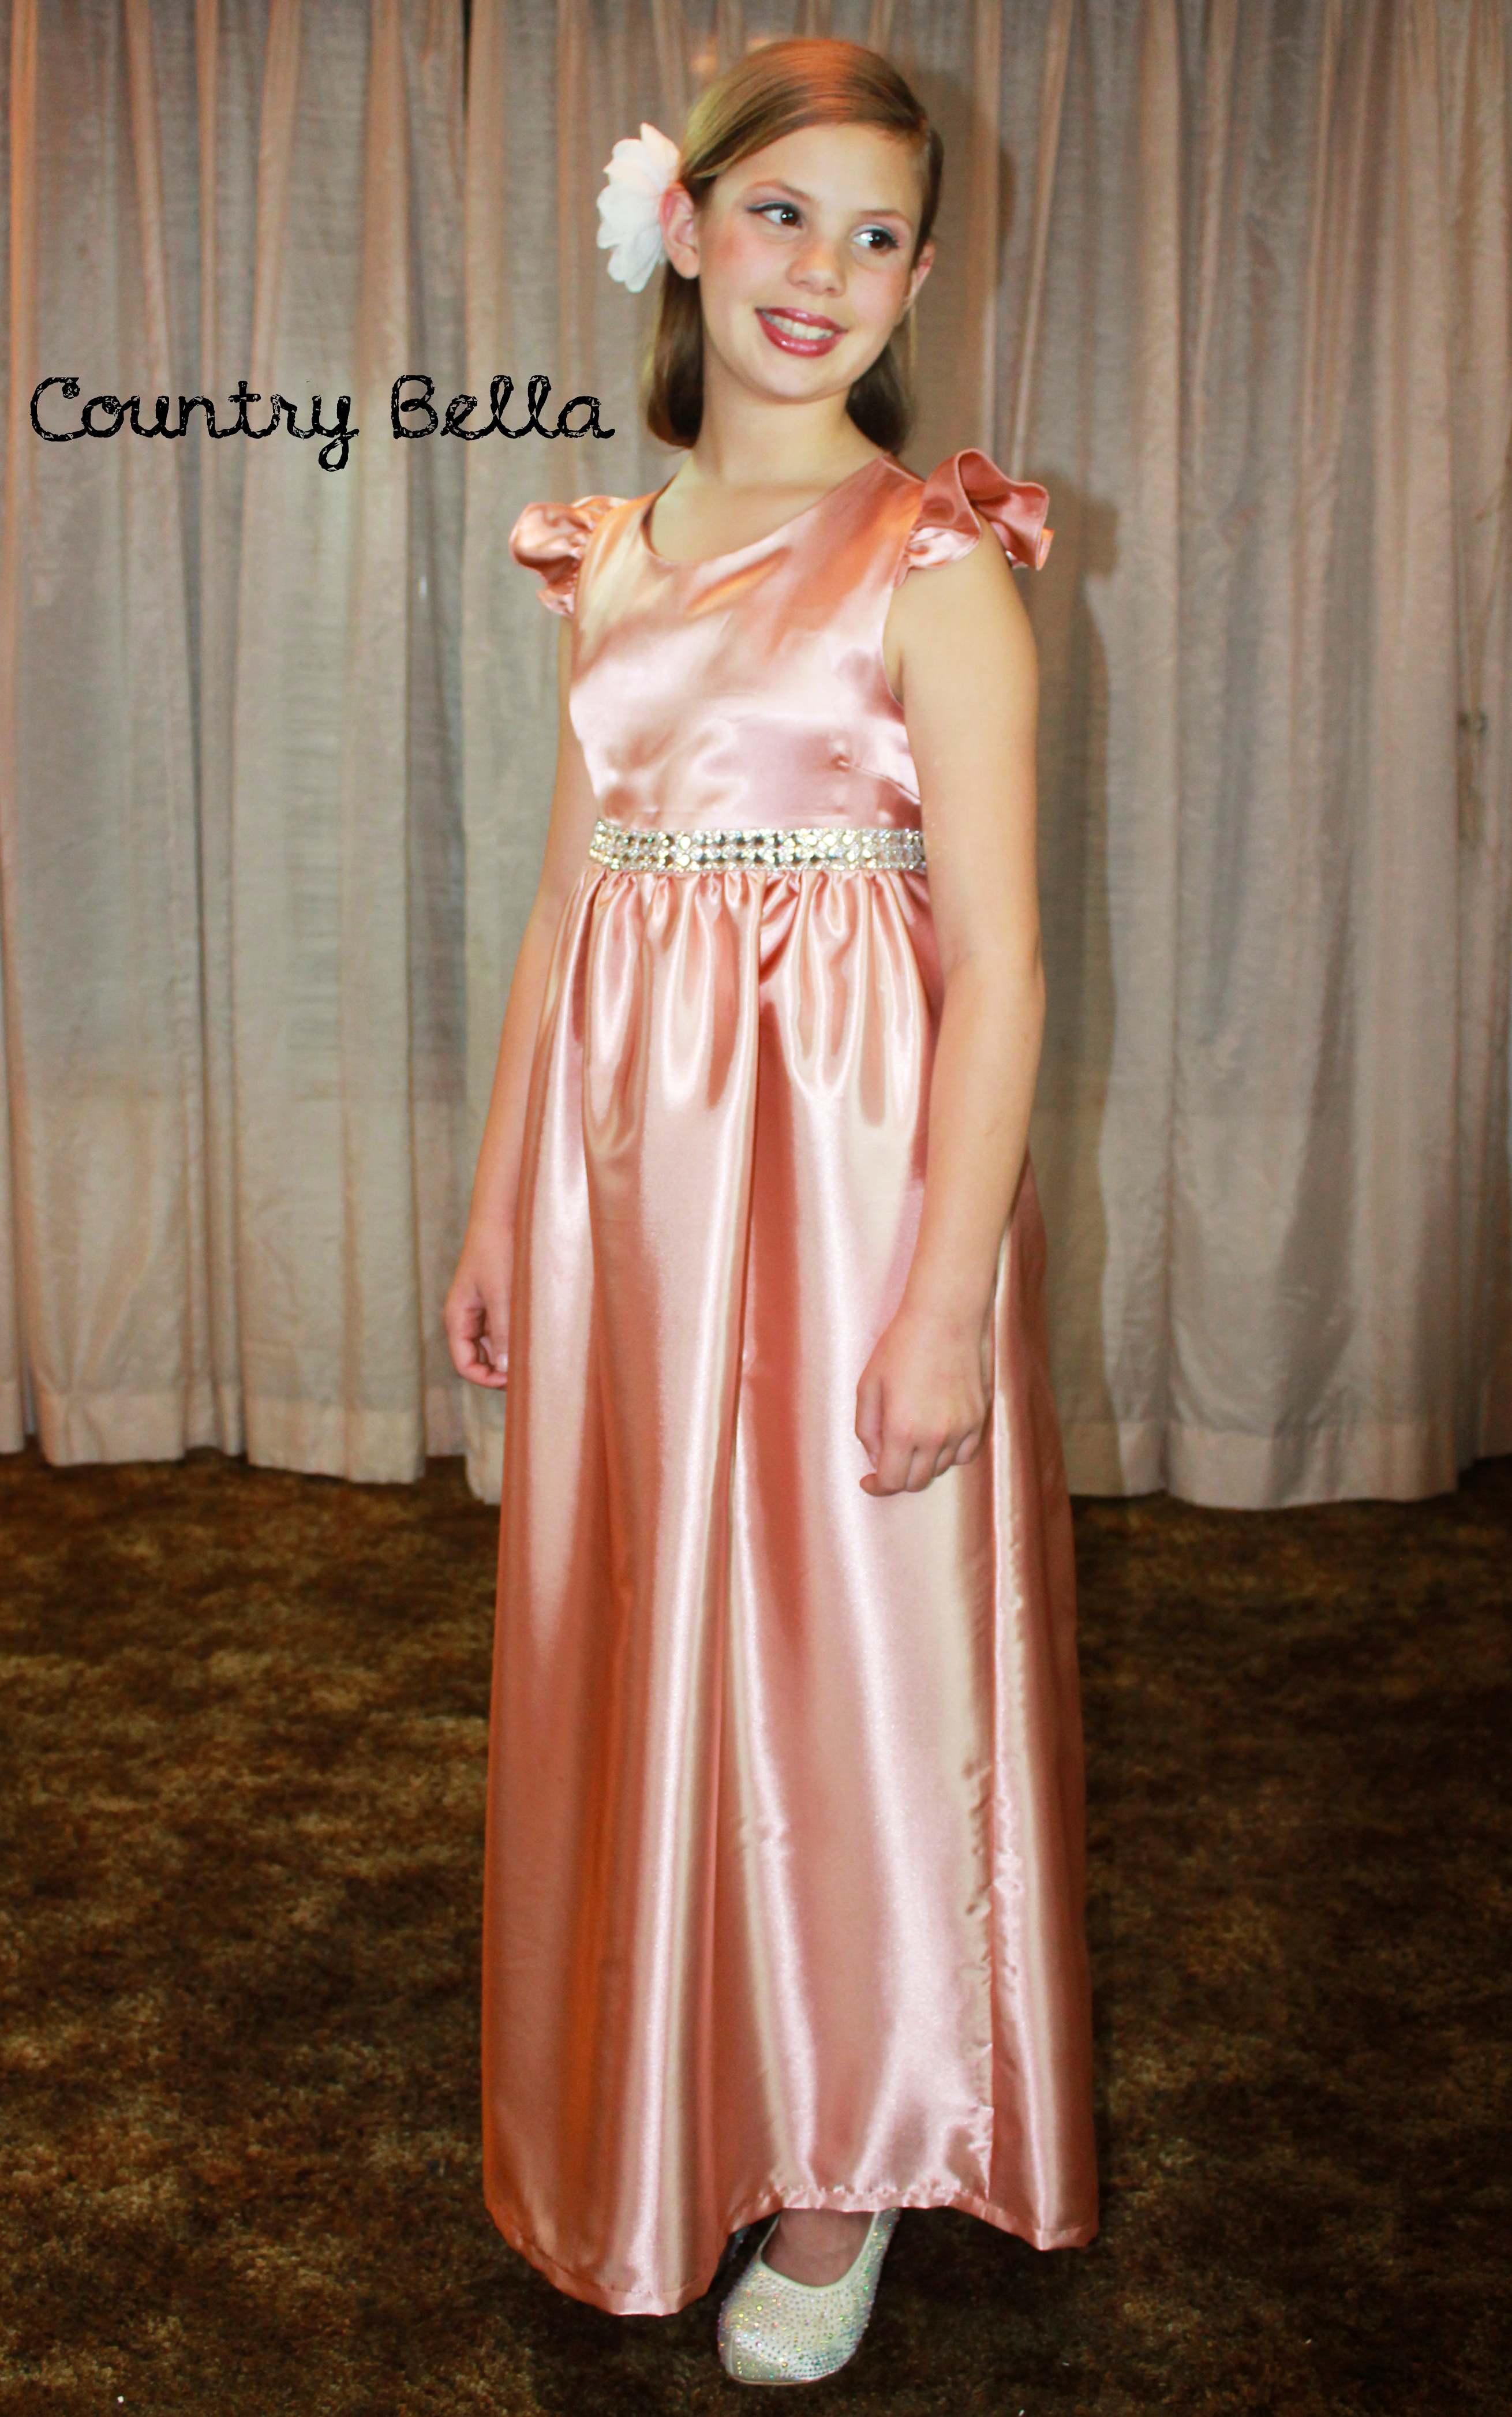
My dress was created using the Maxi Length, Flutter sleeve and developing bodice.
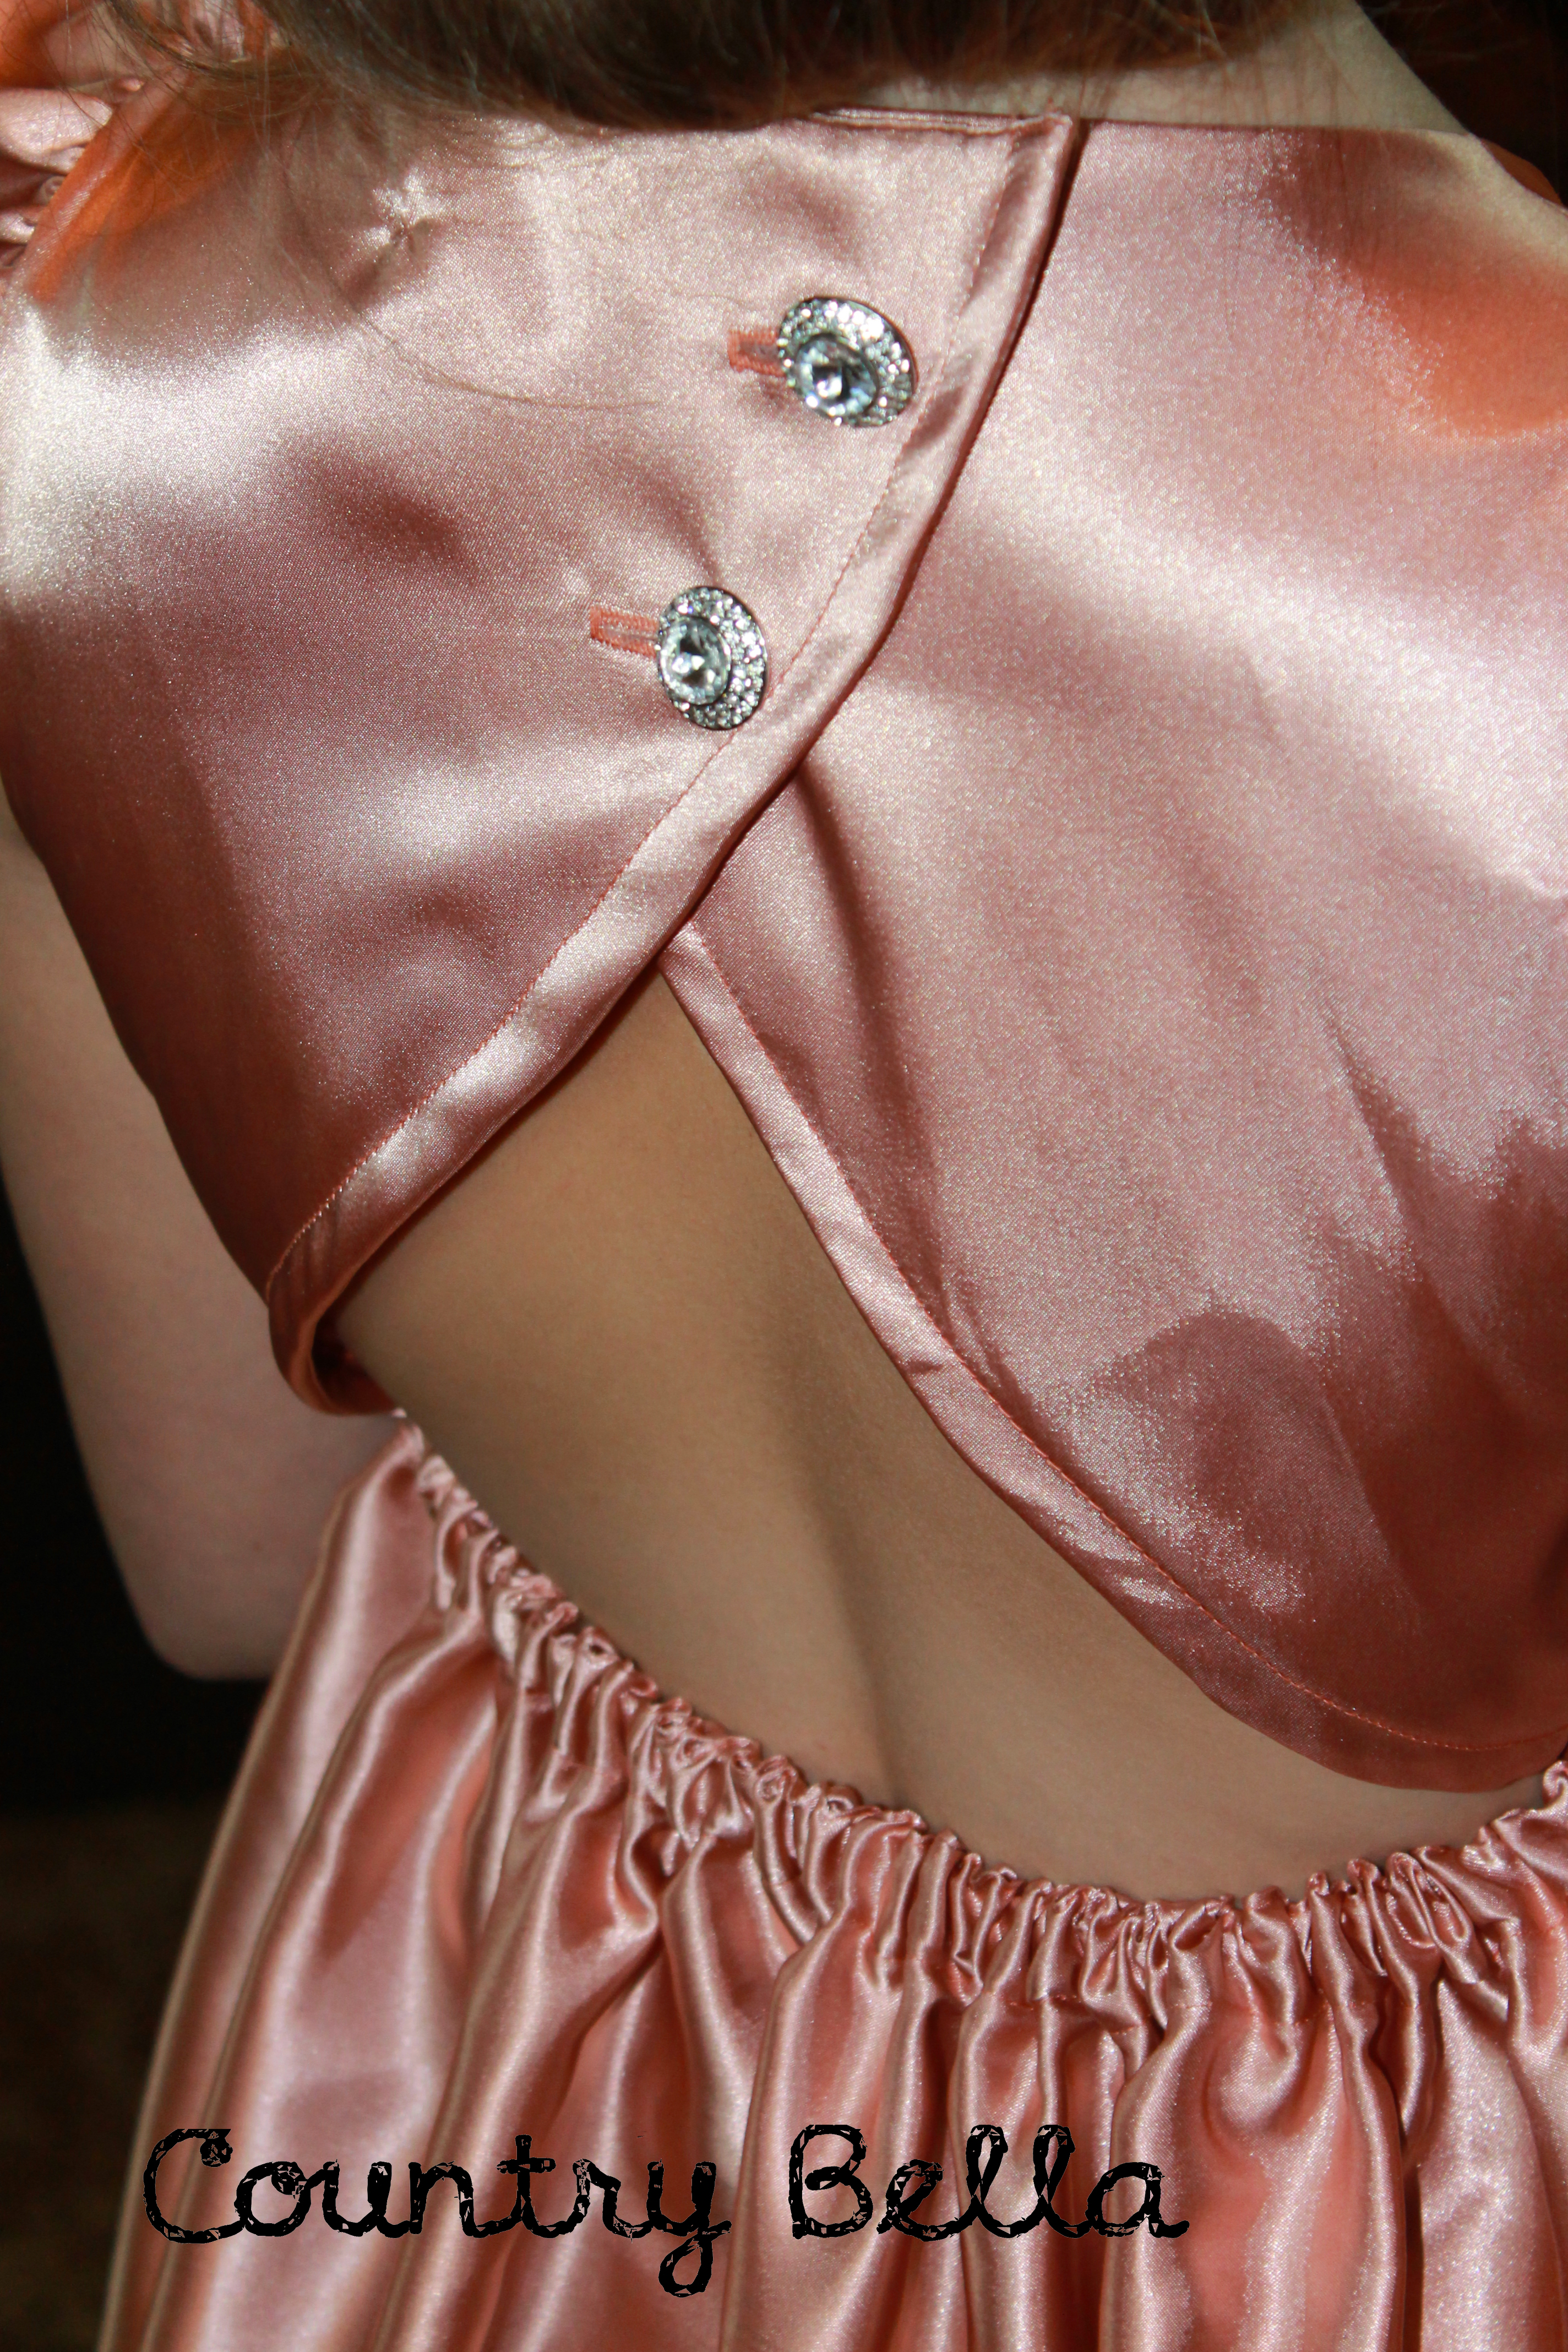
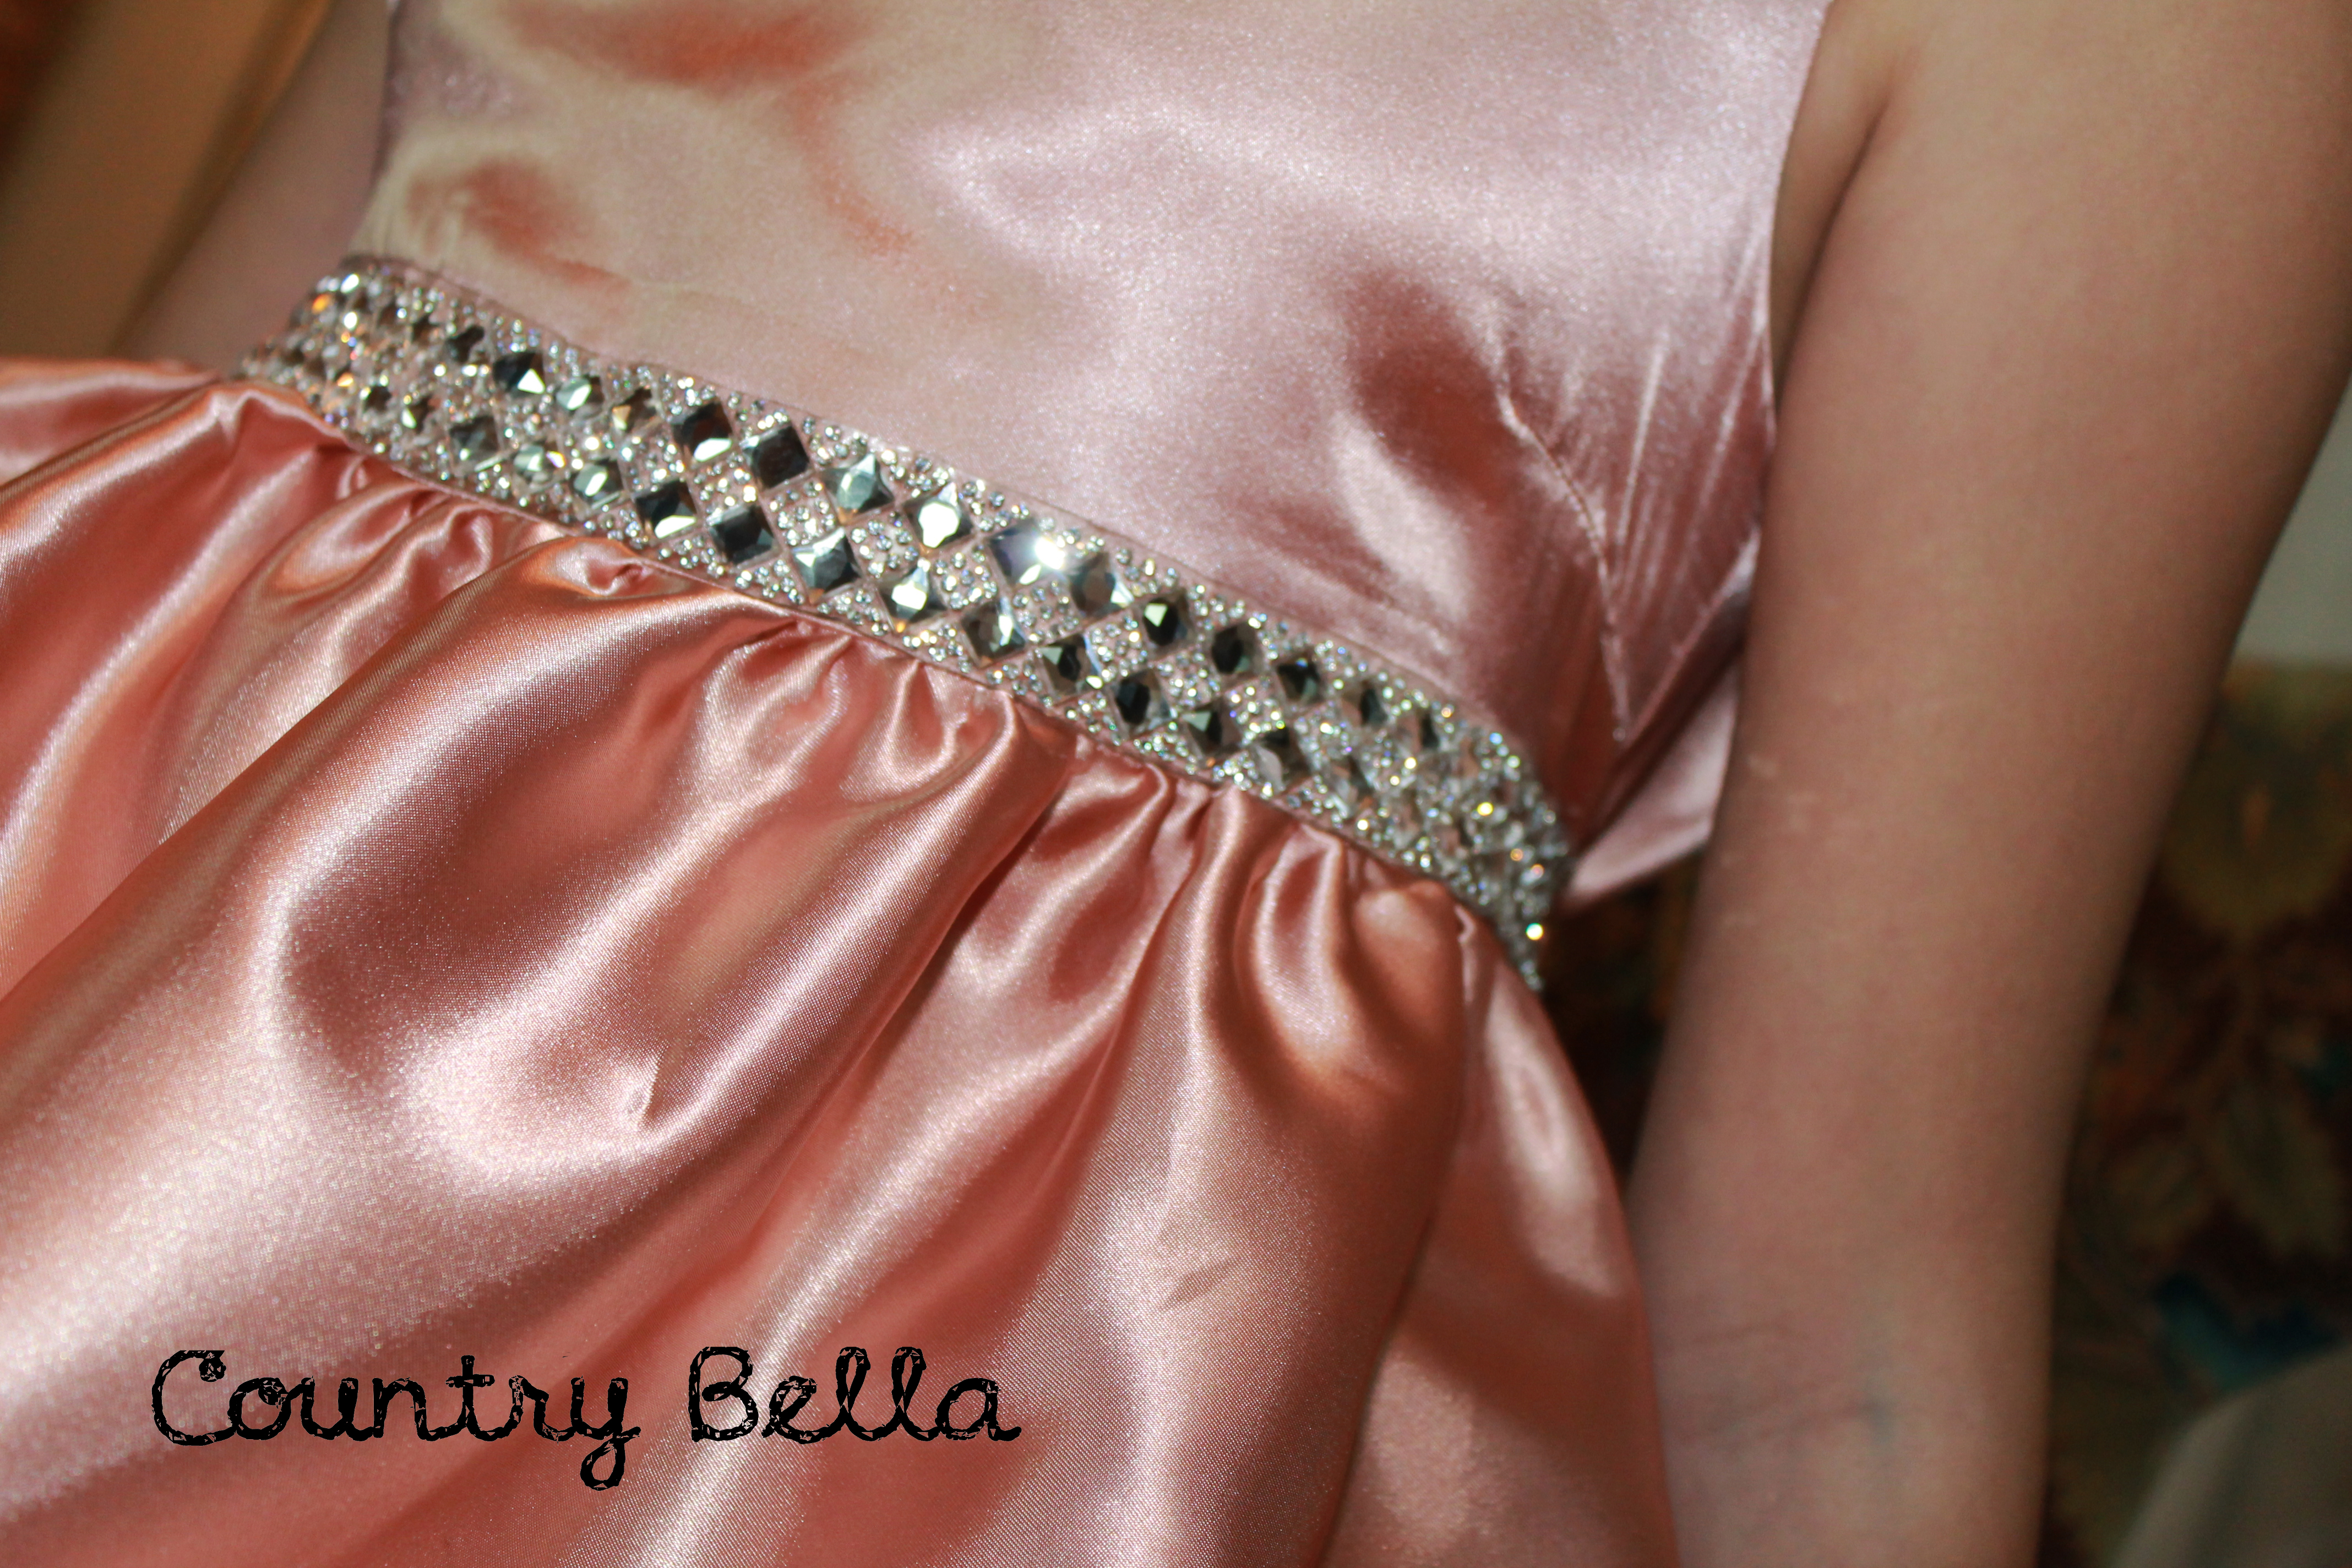
When I first saw this pattern, I fell in love with the vintage open back and sweet style of the dress. I was thrilled to have a “developing” option on the dress because as much as I would like to deny it, my girl is getting older and is needing it. Loving the vintage flare of the dress, I couldn’t help but create an Old Hollywood Glam satin maxi dress version for her with blingy rhinestone buttons in the back and a fiery rhinestone band added to the waistline. She is quite my girly girl at times.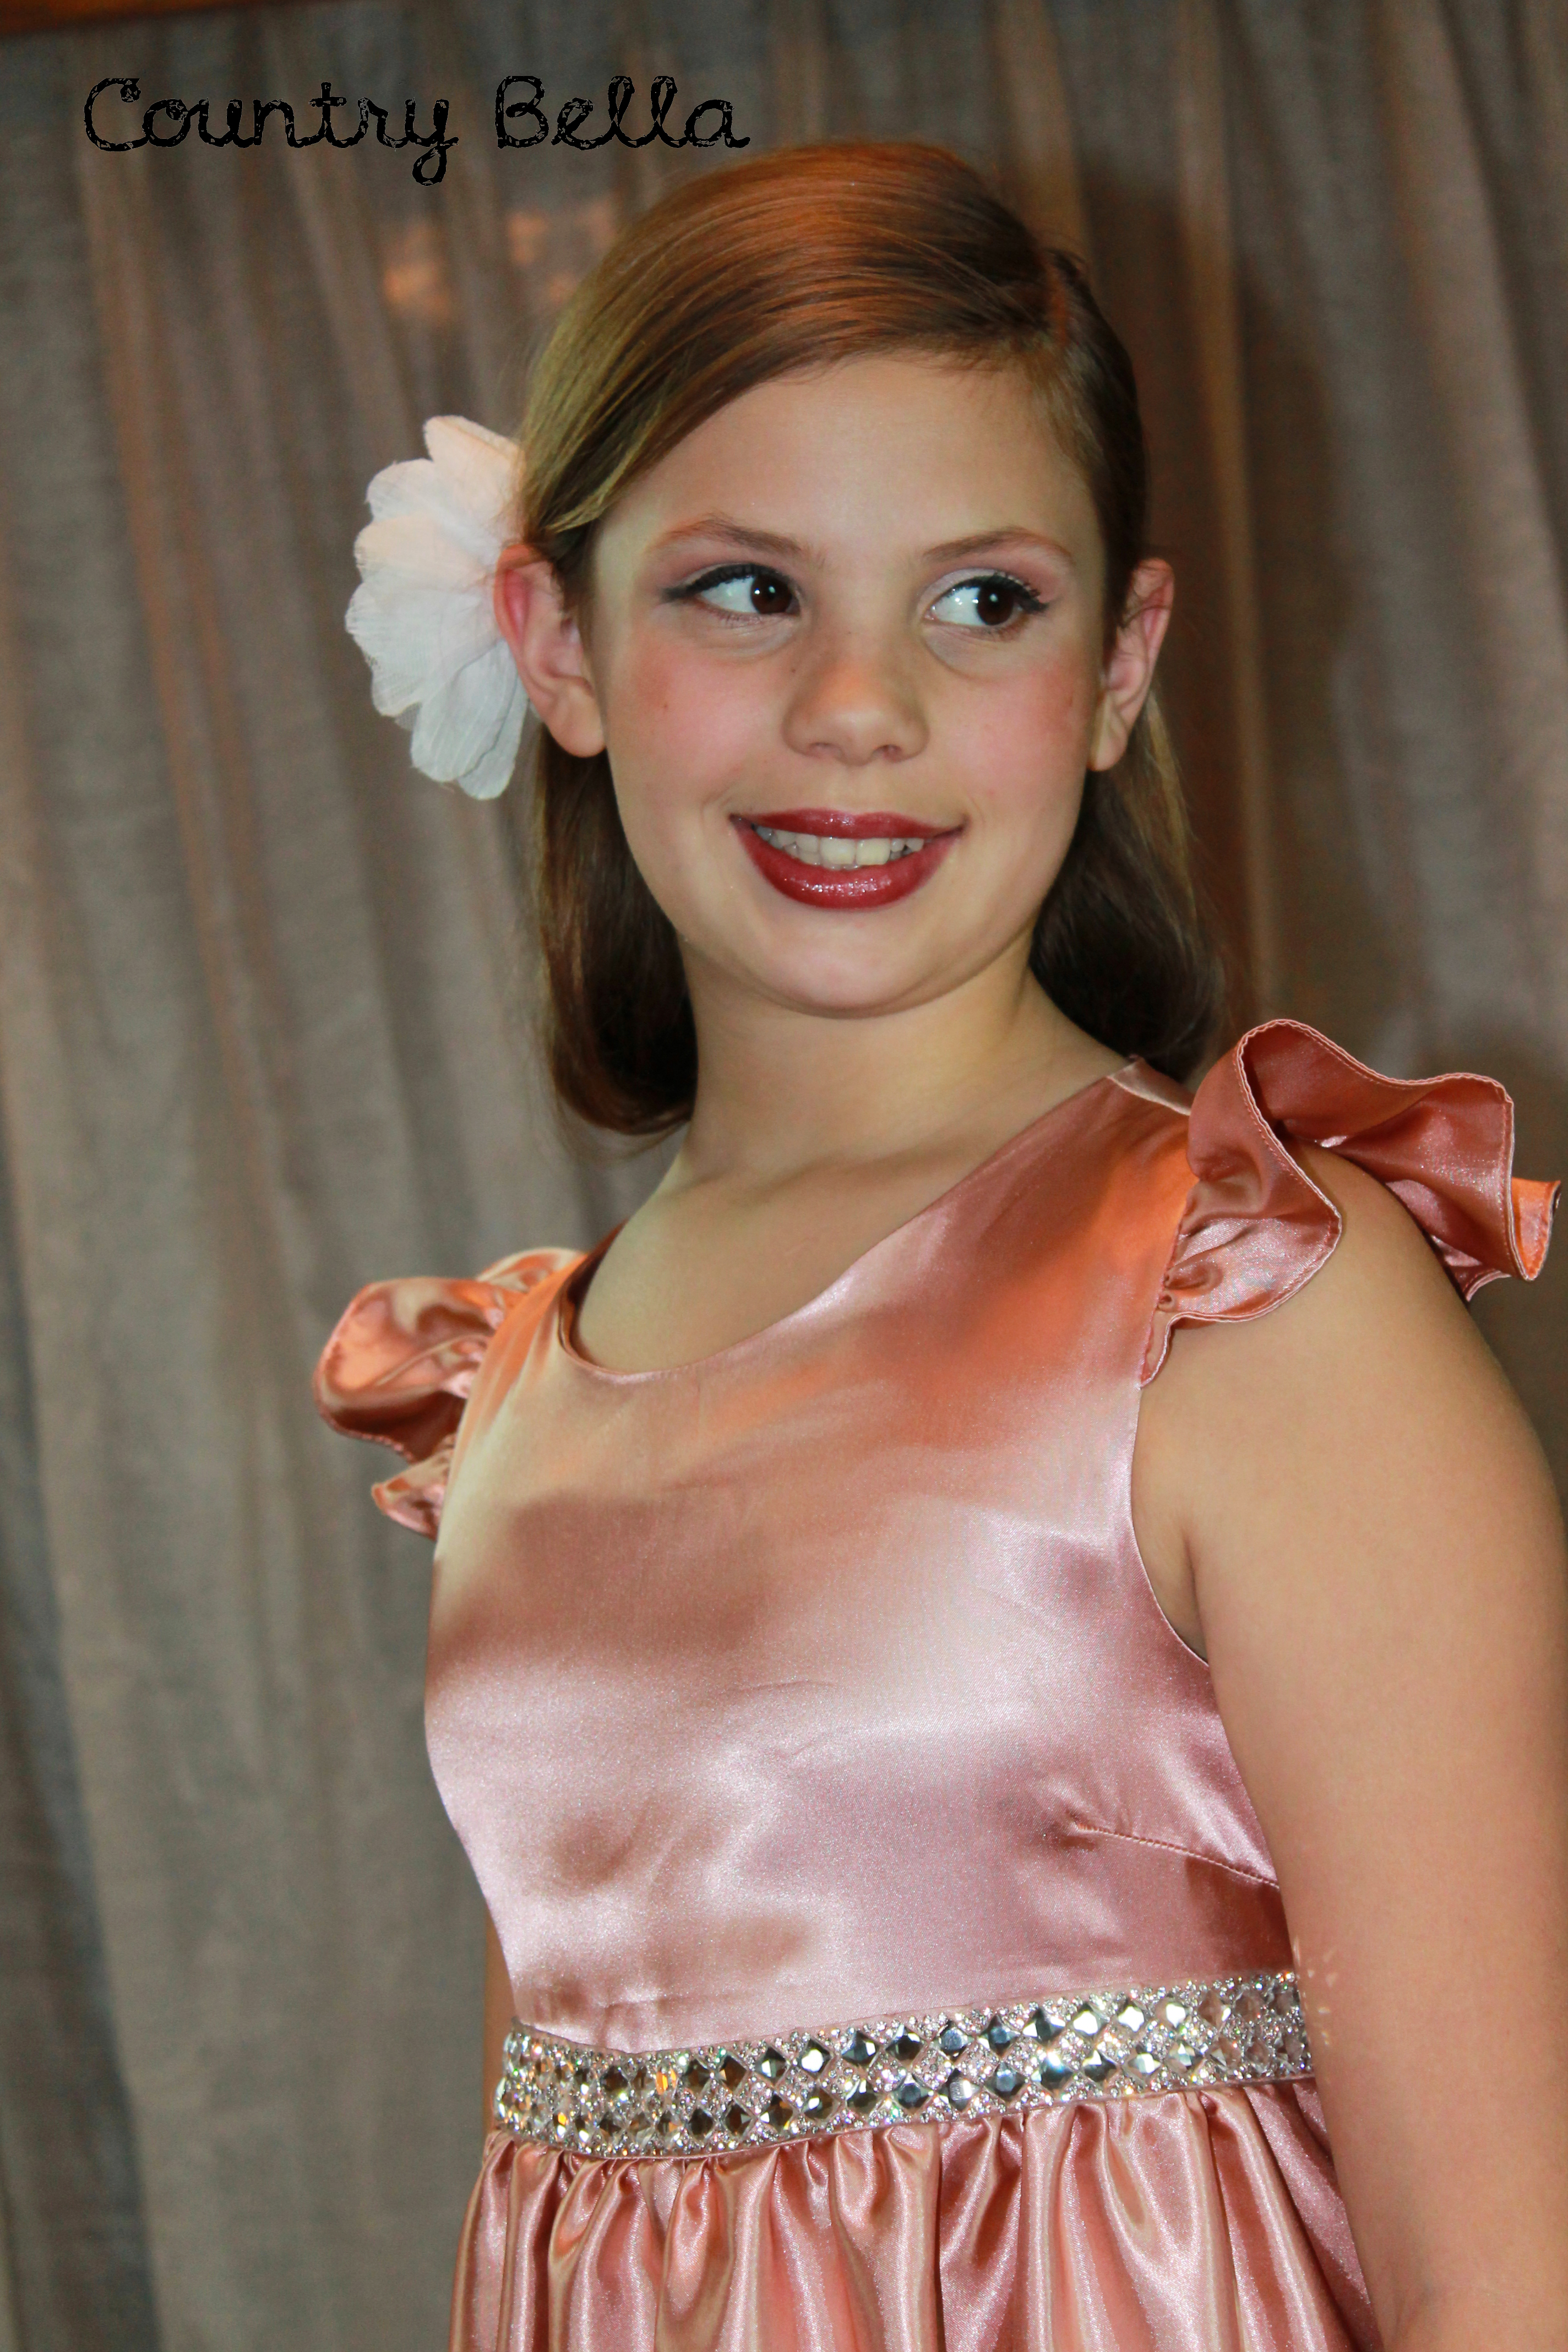
Because this dress was created using a satin (and satin is just one of those fussy fabrics that you just need to take your time with) it took me longer to make than it would’ve had I used a cotton woven fabric. With that in mind, this dress took me about 8 hours sewing time. That is my best estimate as there were quite a few interruptions from my needy adorable children.
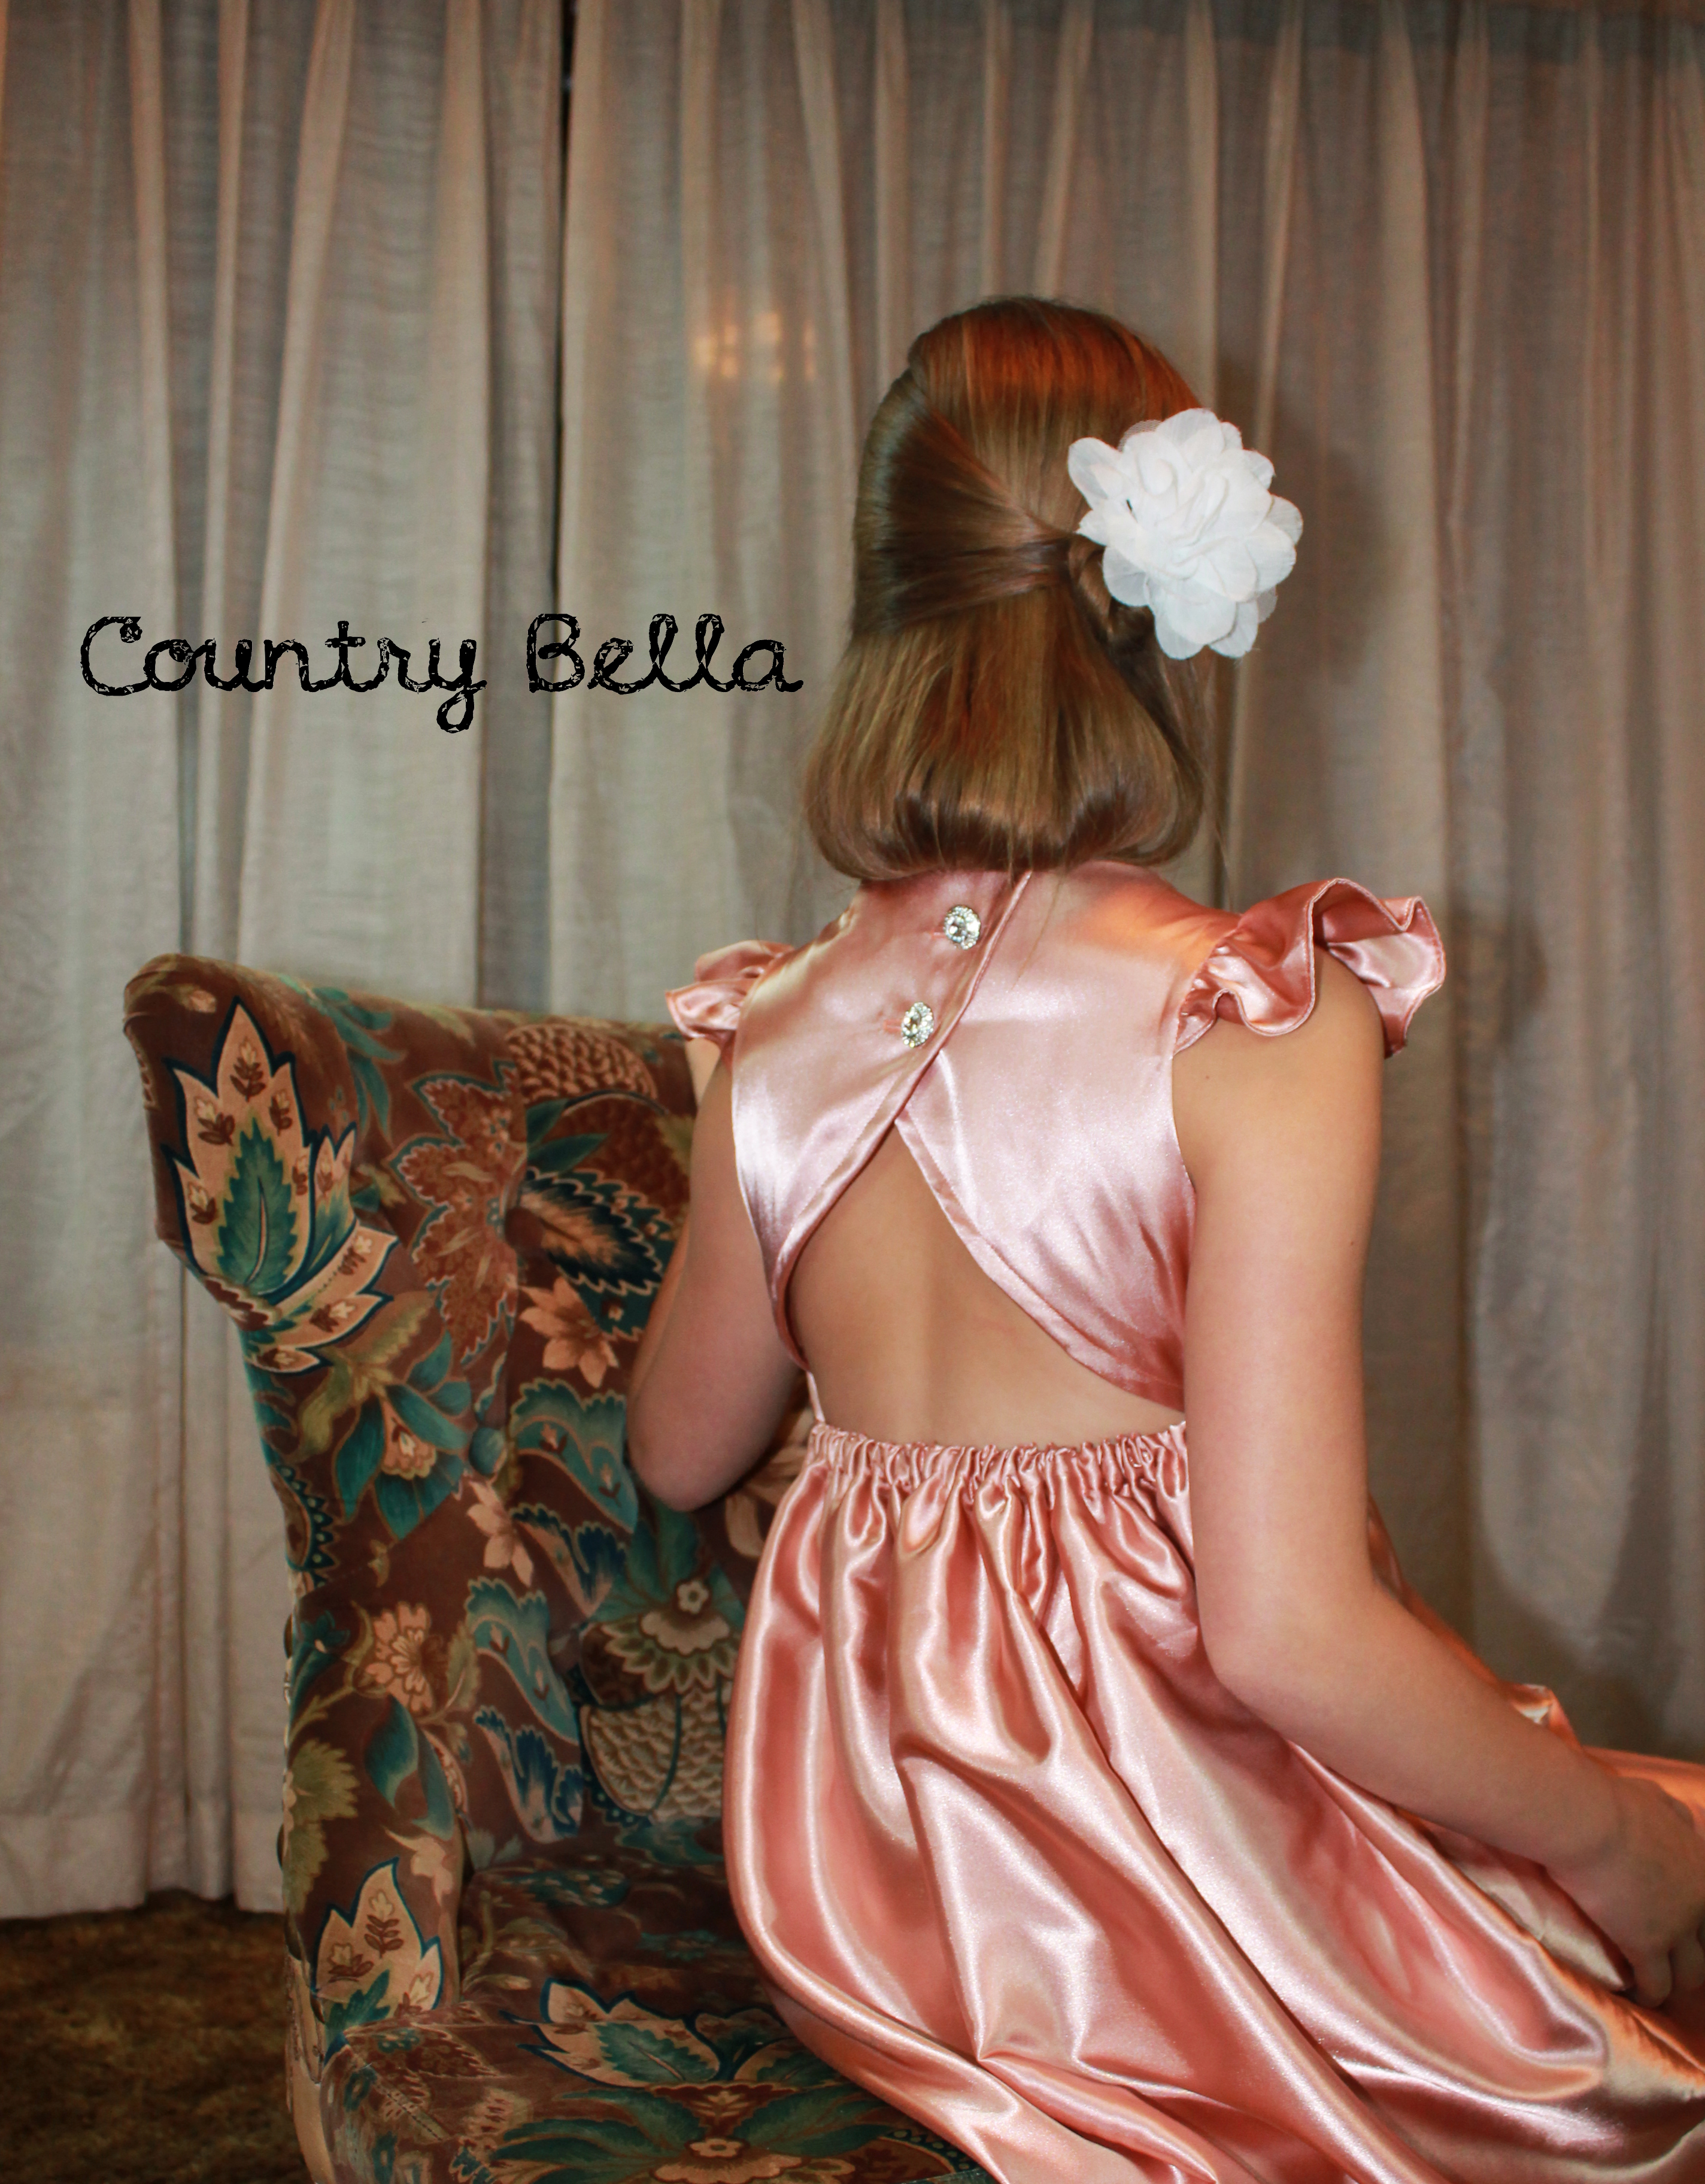
Let’s chat for a moment about this tulip style adorable back. The tutorial will walk you through this step wonderfully and having a bias finish really made it easy. I found those perfect blingy buttons at Hobby Lobby in the Sewology section. I have found their button selection, although not large, to be unique, fun and often on sale. It is key to make sure that you have your flaps centered correctly or you back may come out too loose. I did have my daughter try it on and marked the button placement so that it fit her nicely. It is not easy to see but the elastic encased waistline on this dress is fairly high above my daughter’s natural waistline creating what I still felt was a modest back.
The waistband itself was surfaced attached by using an adhesive rhinestone strip, also found at Hobby Lobby. I adhered it to the dress after the front bodice was attached at the waist but before it was finished completely. Using glass head pins I pinned the rhinestones to the right side of the fabric. I then carefully turned my bodice over so that the rhinestones were then face down and carefully started heat pressing with my iron from the wrong side of the fabric using a medium high setting. (The highest that was safe for my fabric. The strip came with no directions on how to adhere it so it was a trial and error prior to actually doing it. This is what worked for me and not how anyone else said to do it.) To remove the pins I would recommend using a pressing cloth though as the glue seeps through and will get on your iron. Yep. Guess who learned the hard way but has a nice clean iron now? Lol. It is a fussy finish to the dress but it looks so amazing in real life that I don’t regret doing it one bit.
 The dress went together fairly easy and can be made for an everyday dress as wonderfully as you could make it up for a more formal occasion! I hope that you enjoy creating your own CHLOE as much as I enjoyed creating mine.
You can purchase your pattern at:
Laela Jeyne
But be quick because it is only on sale for a limited time!!
It’s a Wrap! Here is our final shots of our version of the Chloe Dress.